Use shoes you already like
The best DIY base is usually a sneaker you already know fits well, bends naturally, and feels stable for your style of dancing.
Sole Shift
Add dance glide to shoes you already own
Turn everyday sneakers into dance-ready shoes
This website is about upgrading shoes you already have. If a sneaker already fits your foot well, a DIY modification can add smoother turns, better indoor glide, or even tap-friendly sound without forcing you into a completely different shoe.
An Adam Darr production
Suede sole recommendation
Find the best overall add-on for smoother turns on indoor floors.
Tap soles on sneakers
Jump to the simple rhythm modification for tap-friendly sound.
Conversion steps
See the step-by-step process for modifying shoes you already own.
Care tips
Learn how to maintain suede and other add-on modifications.
The best DIY base is usually a sneaker you already know fits well, bends naturally, and feels stable for your style of dancing.
Most dancers add suede to the full sole or to the ball of the foot so turns feel smoother without replacing the entire shoe.
A good DIY setup should spin cleanly indoors while still giving enough control to stop, redirect, and protect your knees.
Why DIY?
Because comfort starts with the pair you already trust. The modification is the add-on, not the whole identity of the shoe.
5 min
Typical setup time once materials are ready
$20+
Approximate add-on cost for adhesive suede materials
Indoor
Best used on clean studio and social dance floors
Choose the kind of add-on that fits your goals
Not every dancer needs the same level of commitment. Some want a near-professional indoor feel, others only need a temporary practice solution, and tap dancers may simply want to add plates to a sneaker they already enjoy wearing. The safest long-term recommendation for smooth turning is still suede, but the right choice depends on your floor, dance style, and tolerance for permanent changes.
The closest feel to a dance shoe. Ideal for studio floors, social dancing, and smoother turns.
Useful if you want to test a shoe before committing to a permanent sole modification.
A straightforward way to turn a comfortable sneaker into a practice option for tap, especially when you want sound and familiarity more than a full specialty shoe.
Works when you need a very short-term solution for practice and nothing else is available.
The core idea
Many dancers do not need a brand-new specialty shoe on day one. If you already own sneakers that feel good on your feet, a DIY dance sole can preserve that familiar fit while changing how the bottom interacts with the floor. That is the whole premise of this guide.
Best use case
Dancers who love the comfort of their existing shoe but need smoother indoor pivoting.
Main warning
Once suede is on the sole, keep the shoe indoors and away from water if you want it to last.
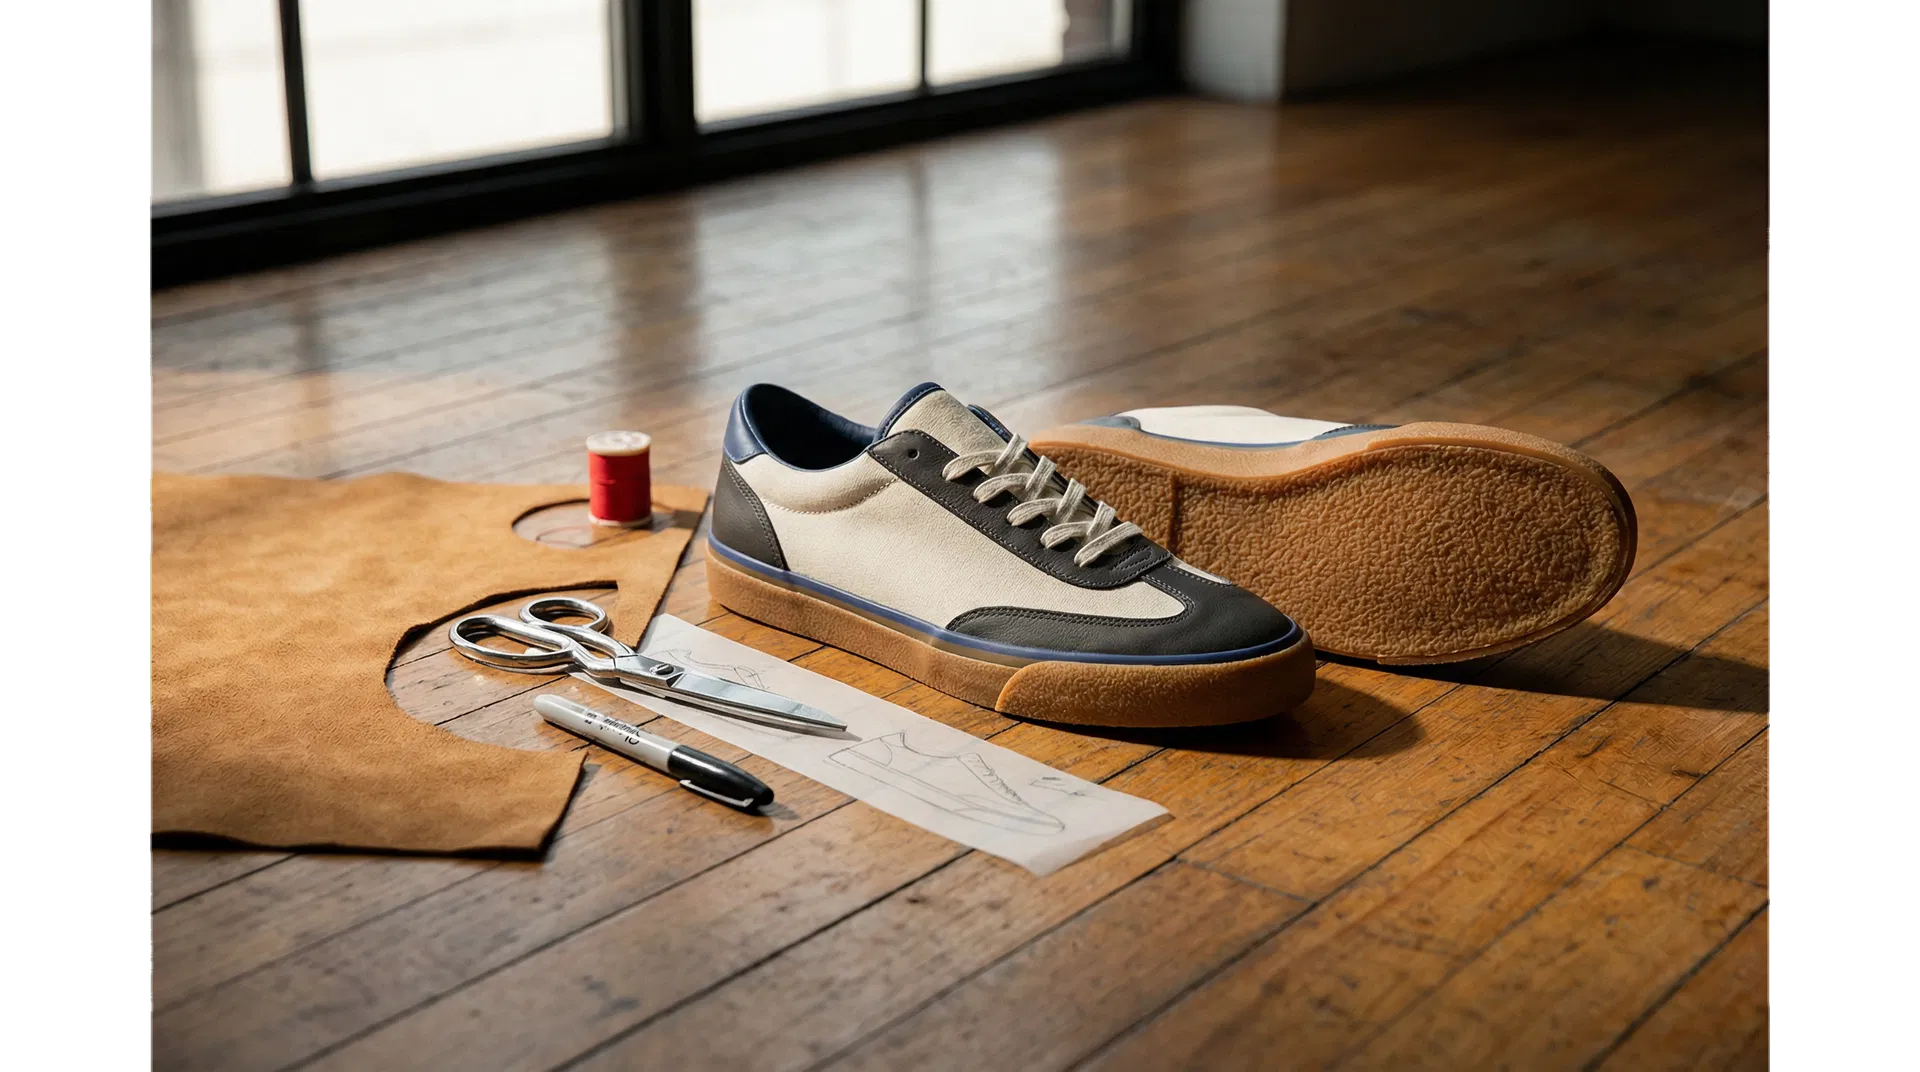
Simple process
The process is straightforward, but the details matter. Clean prep, careful tracing, and indoor-only testing are what separate a satisfying modification from a peeling mess. If you are adding tap plates instead of suede, the same principle applies: start with a structured sneaker and make sure the hardware is attached securely enough for impact.
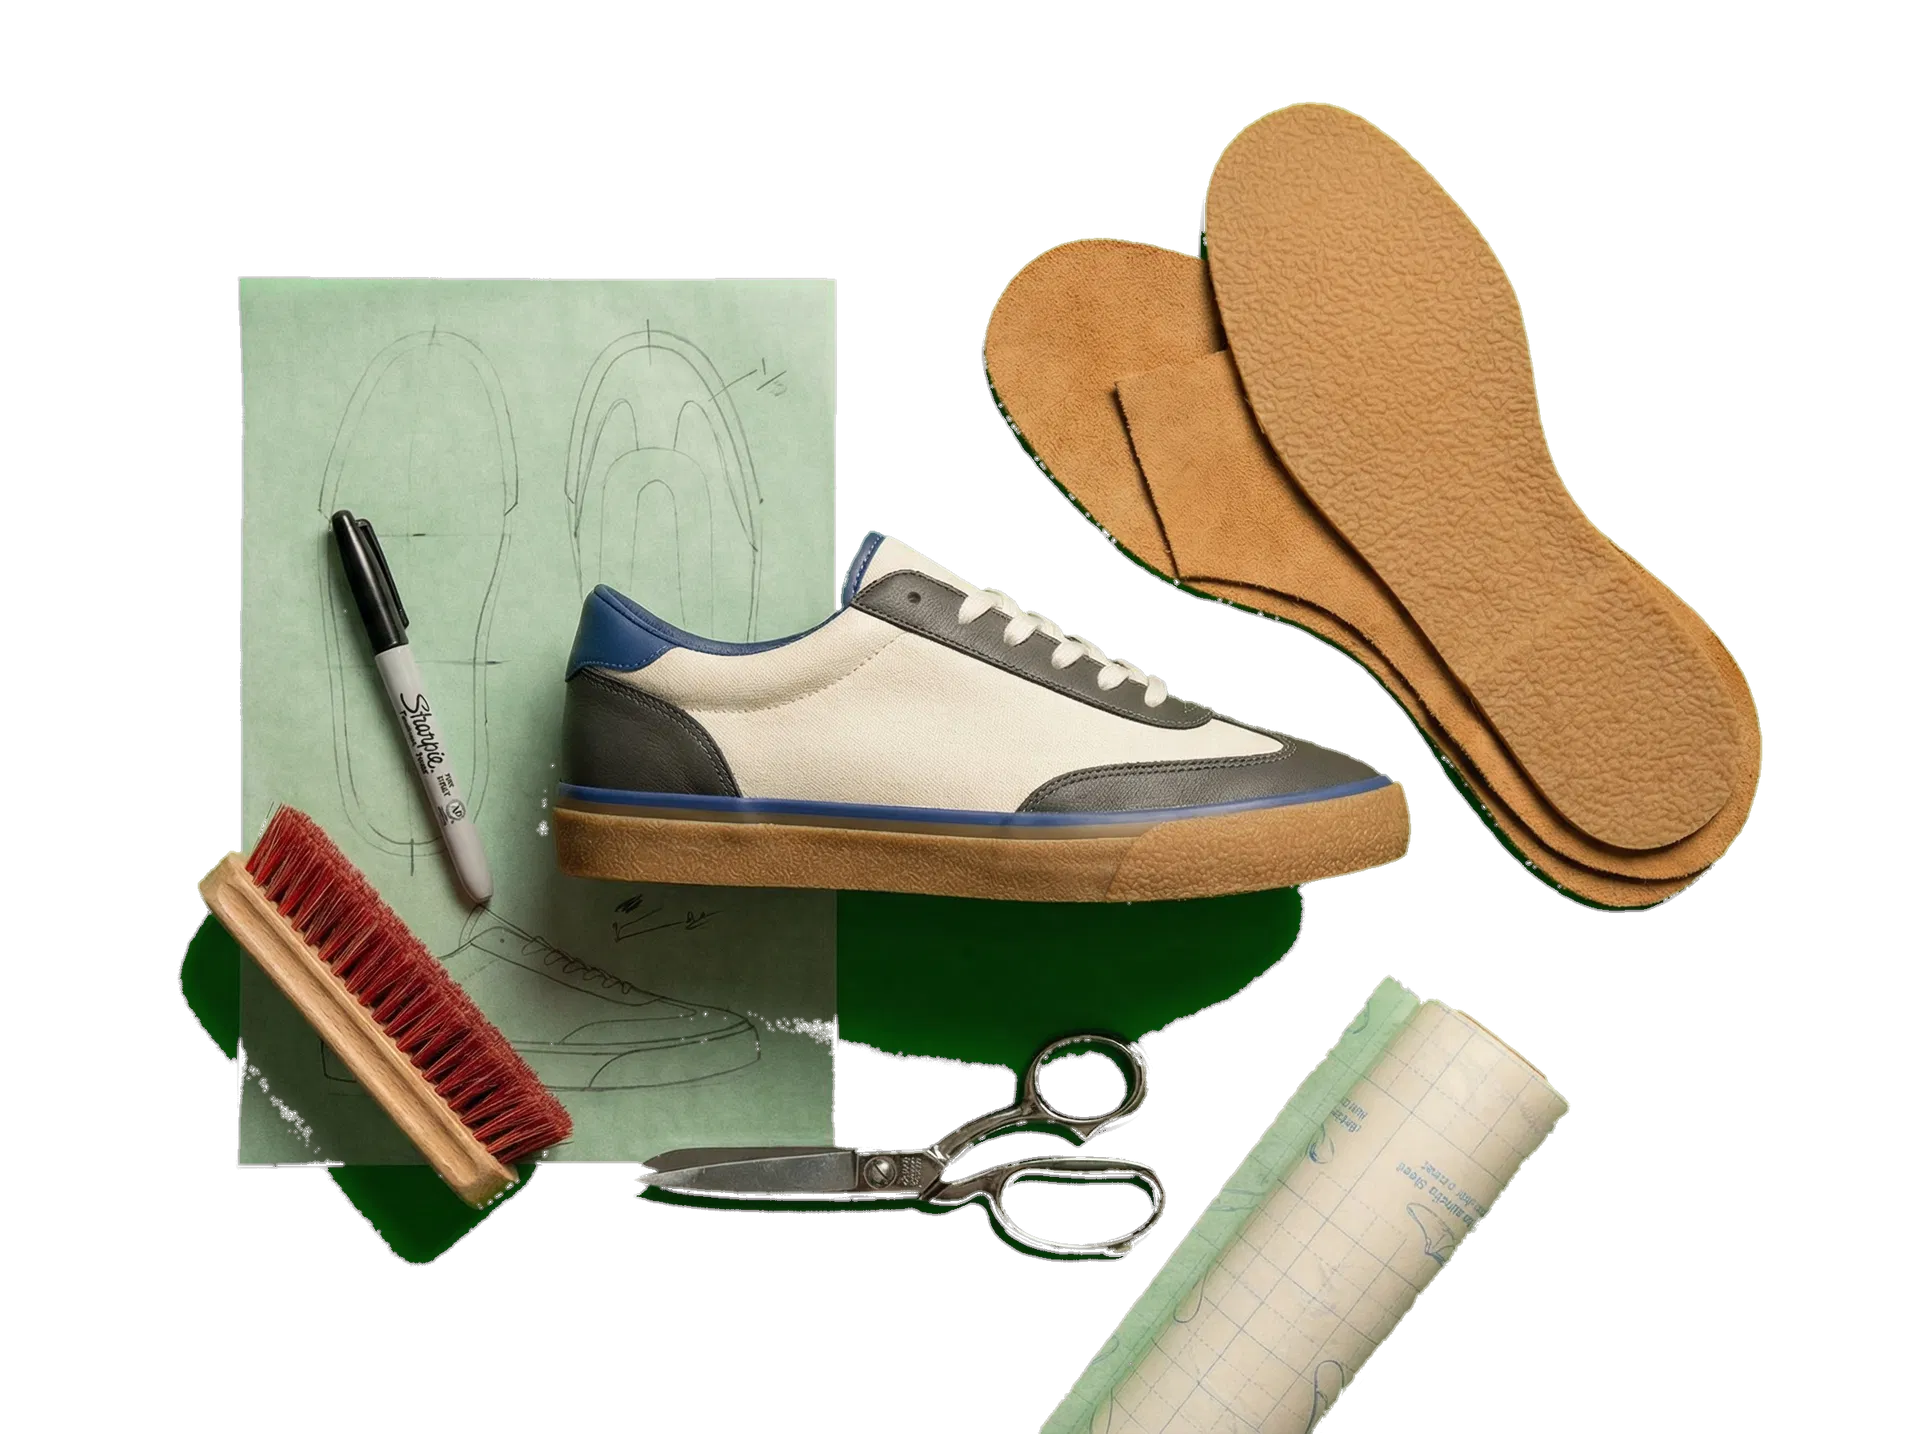
Look for sneakers with a relatively flat sole, moderate flexibility, and enough support that you would already enjoy wearing them for an hour or two.
Remove dirt, oil, and debris with rubbing alcohol. If the tread is glossy or dirty, light sanding helps adhesive bond more reliably.
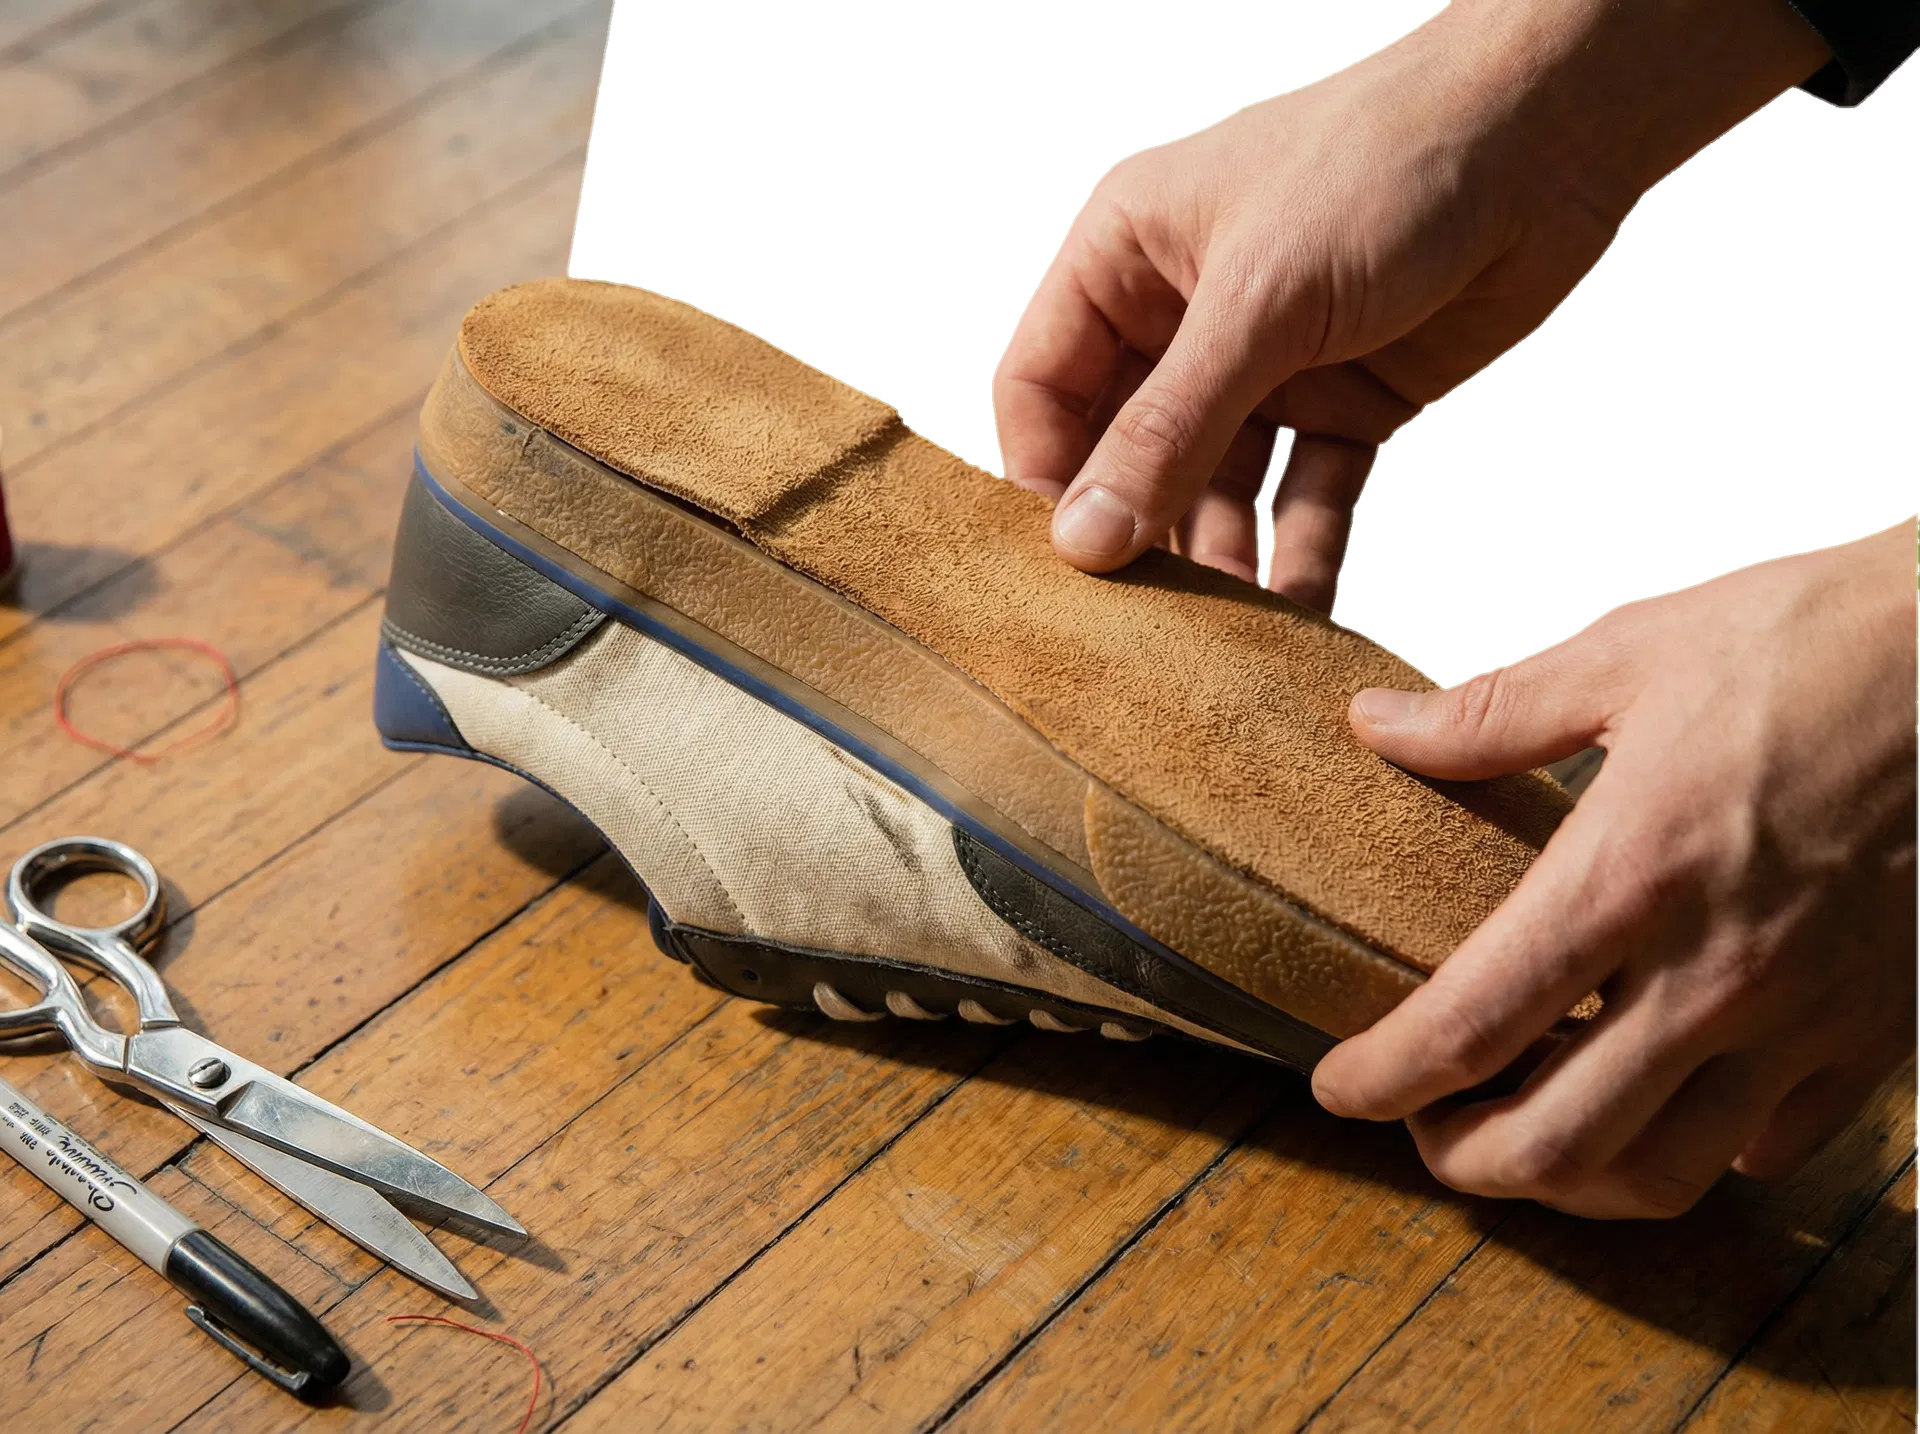
Trace the sole shape onto the backing paper of the suede, cut carefully, and dry-fit before peeling so the edges line up cleanly.
Start at the toe, press gradually as you peel, and smooth the suede down in sections to reduce bubbles or crooked placement.
Walk in the shoes for a few minutes, let the adhesive settle, then test them only on clean indoor floors before dancing hard in them.
Care and longevity
DIY dance shoes last longer when you think of the sole as a performance surface. A little maintenance preserves the glide and helps your favorite sneaker stay useful for social dancing.
Brush suede periodically so the nap does not get flattened and slick.
Keep modified shoes for indoor use only; water and pavement will wear the sole down quickly.
If edges start lifting, use a small amount of shoe-safe adhesive instead of replacing the entire sole.
Ready to test your own pair?
The smartest DIY dance shoe is often not a new purchase. It is a comfortable shoe you already own, upgraded with the right add-on materials and used on the right floor.
An Adam Darr production